0

Chartbusting ……. literally!

Hello,

Last September my lovely crochet group said that the area of crochet in which they felt least secure was working from charts. So, I decided that the time had come to put them through their paces; I know from experience how helpful it is to have the facility to locate a stitch on a chart and see where it lies in relation to the rest of a piece of work. Increasingly crochet patterns offer both written and charted instructions … unlike some of the vintage crochet designs which can be so offputting.

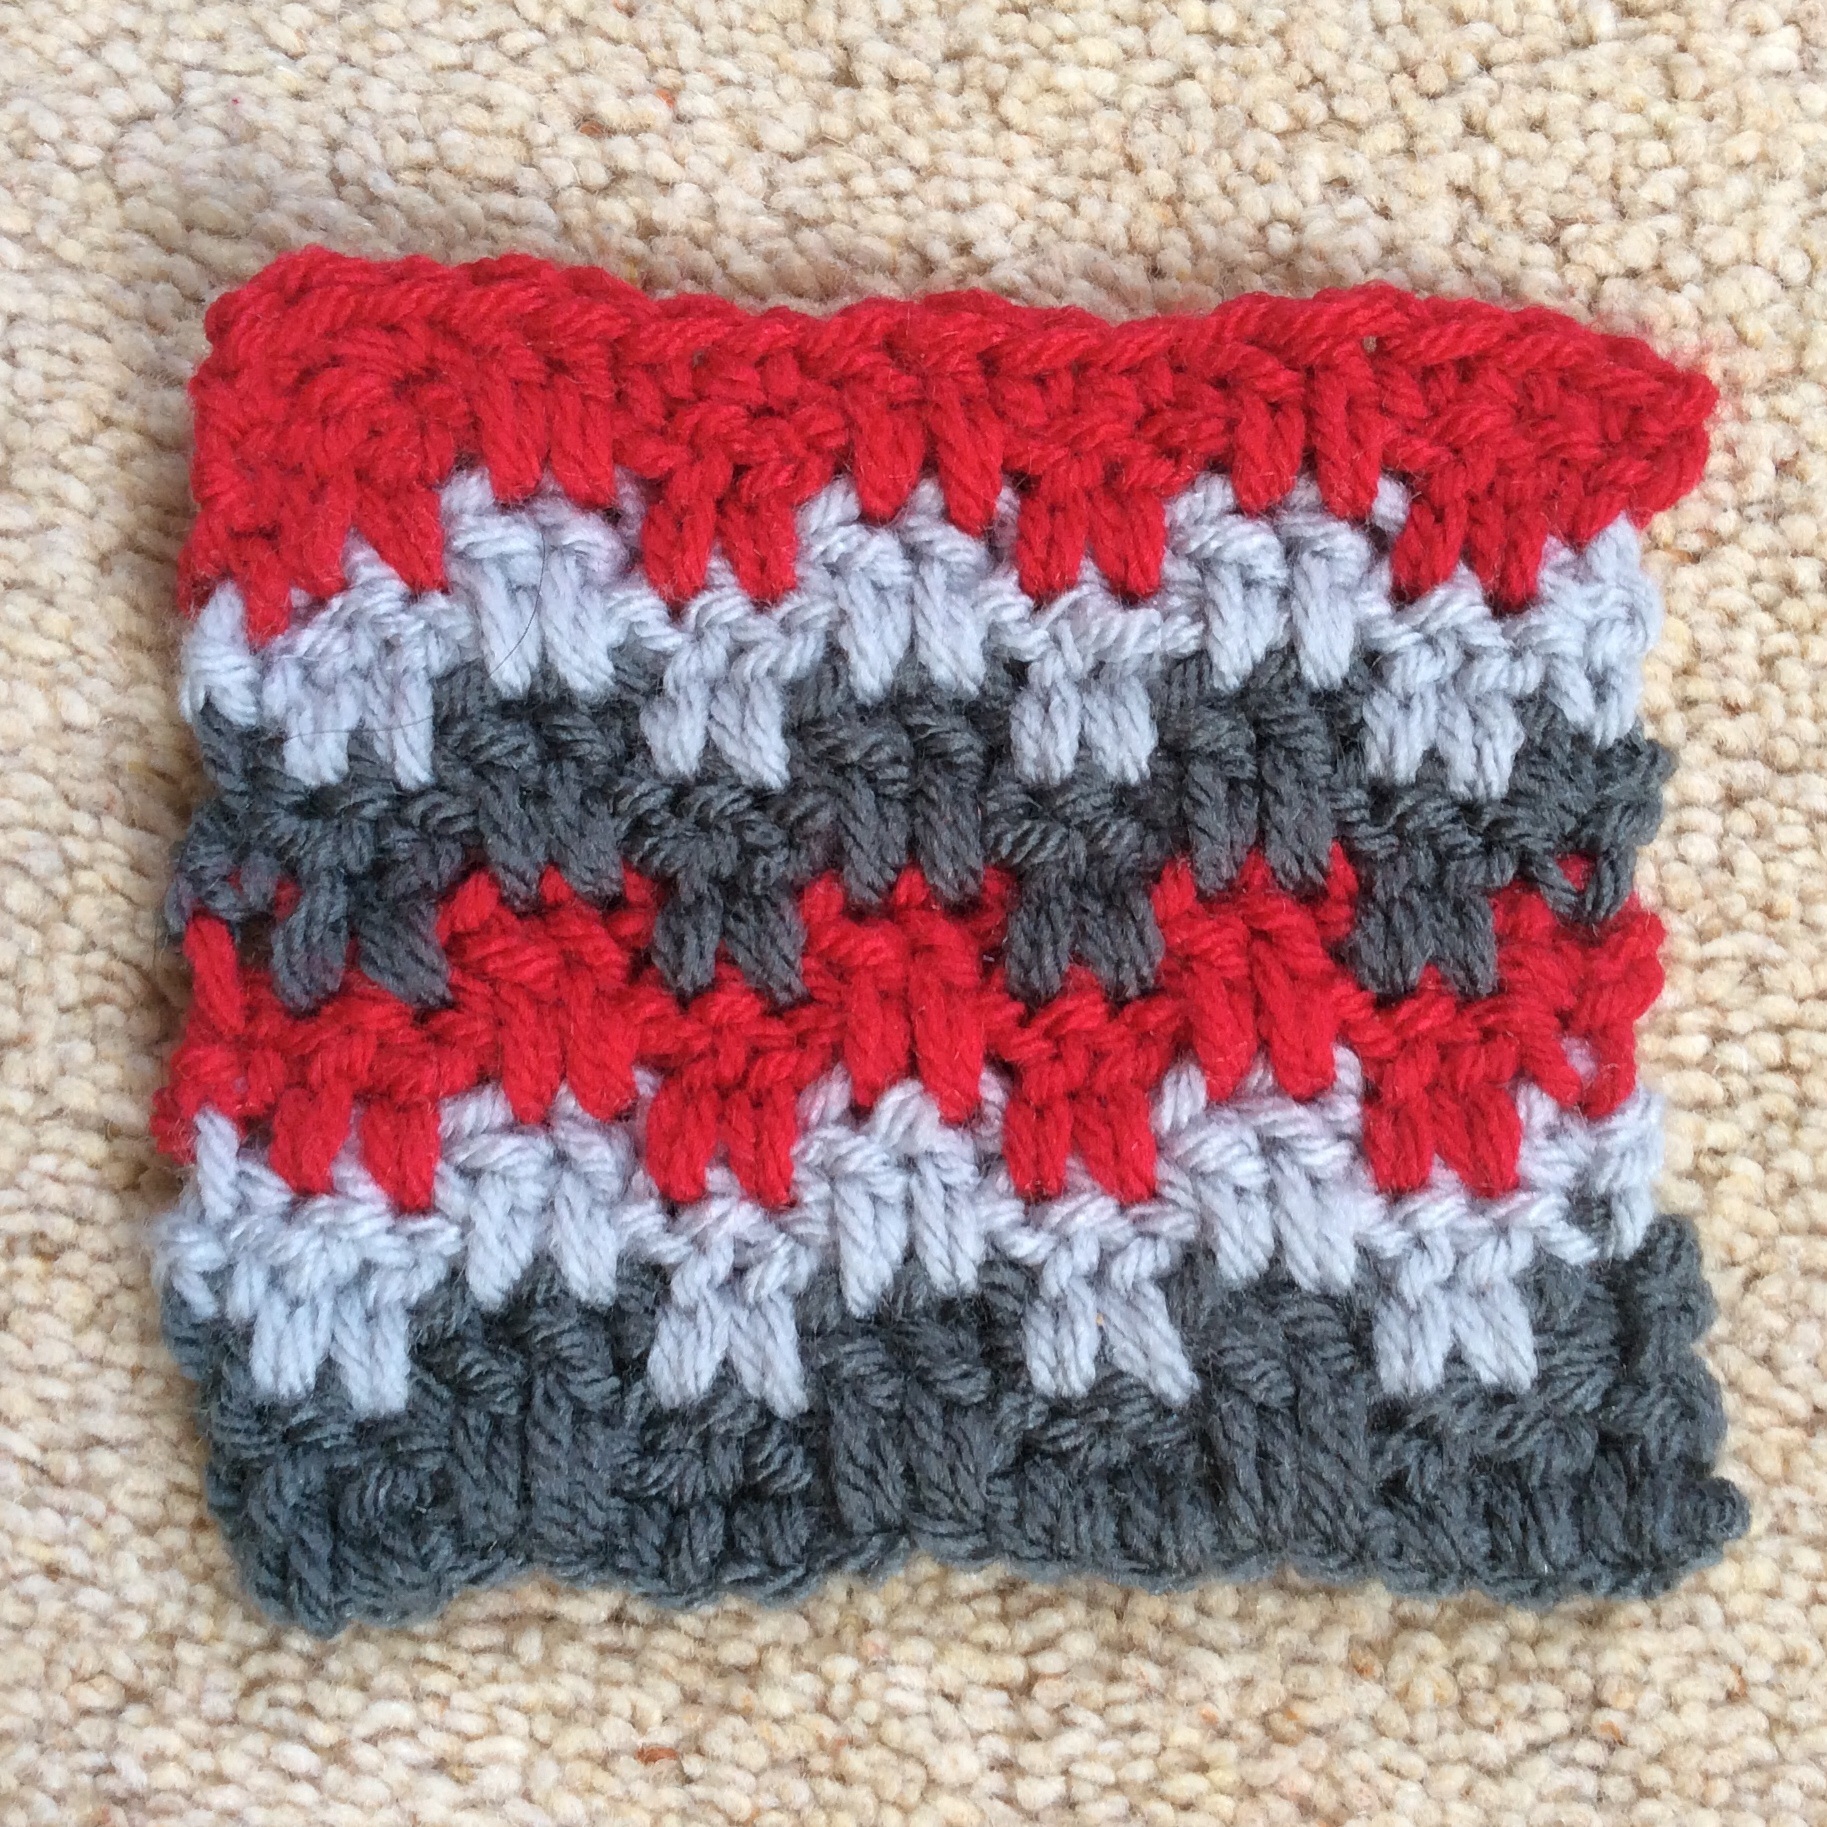
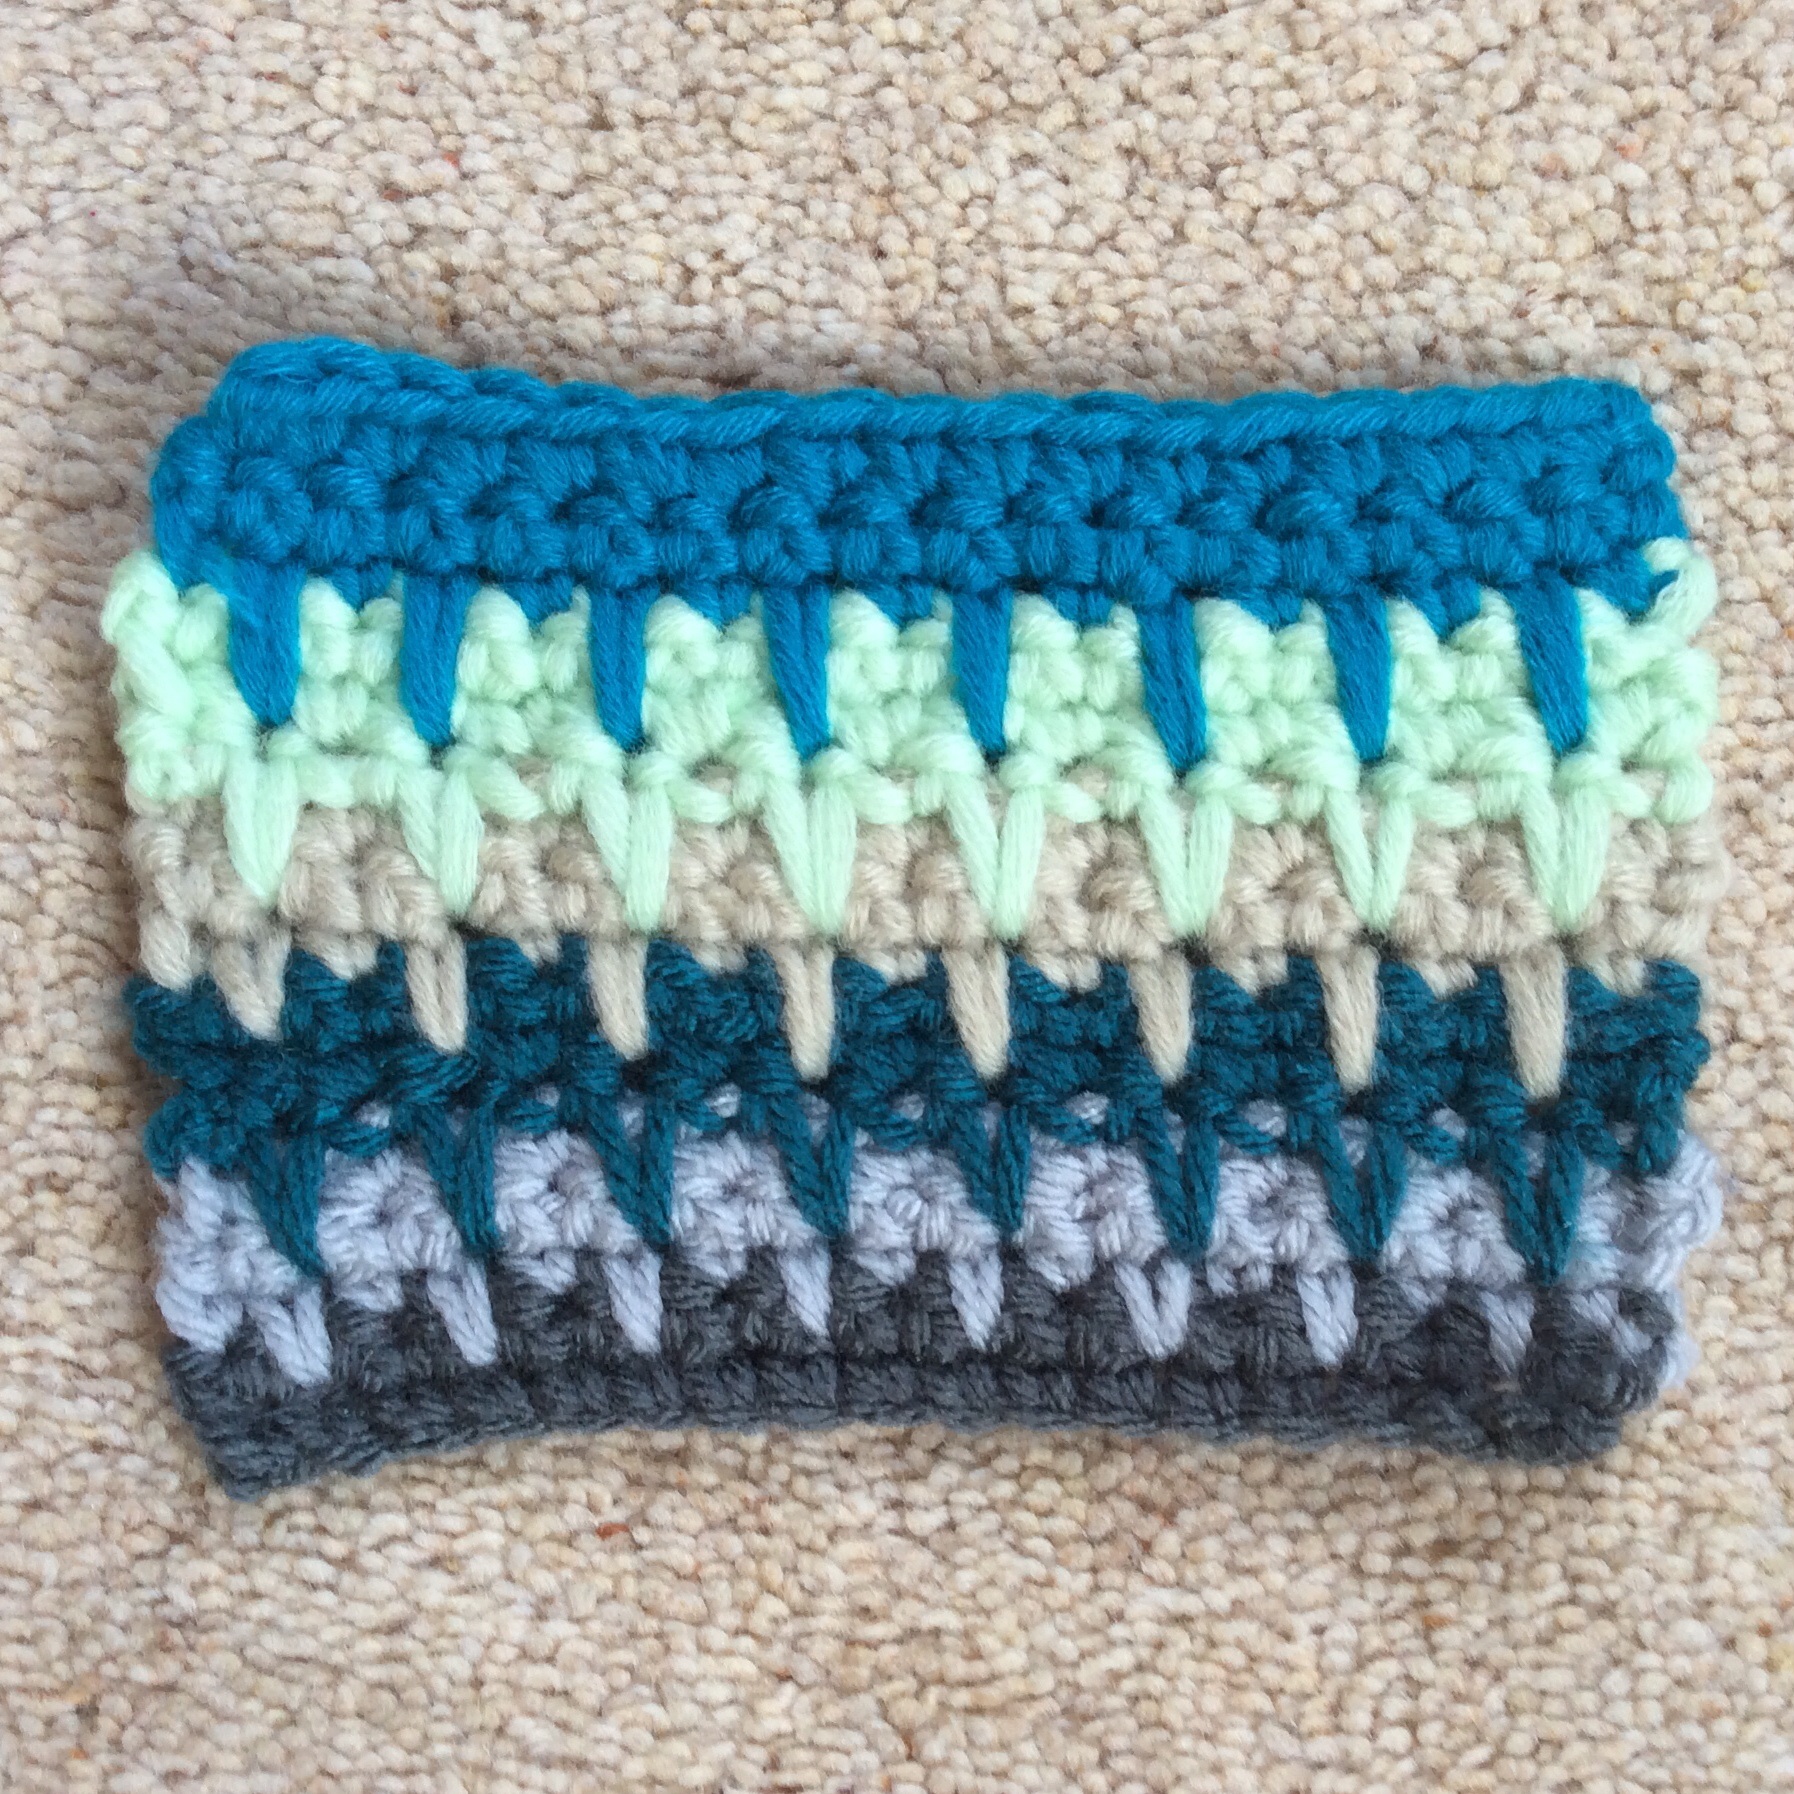
Throughout the autumn my ladies hooked their way through more than eighty squares of different colours and textures, working both in rows and in the round without using a single written instruction. They worked from a variety of stitch pattern charts that I had been able to print off or draw out – linen stitch, trinity stitch, blackberry salad, “v”stitch, iris stitch, shells and fans, clusters, bobbles and popcorns to name but a few – until they had crochet symbols coming out of their ears!

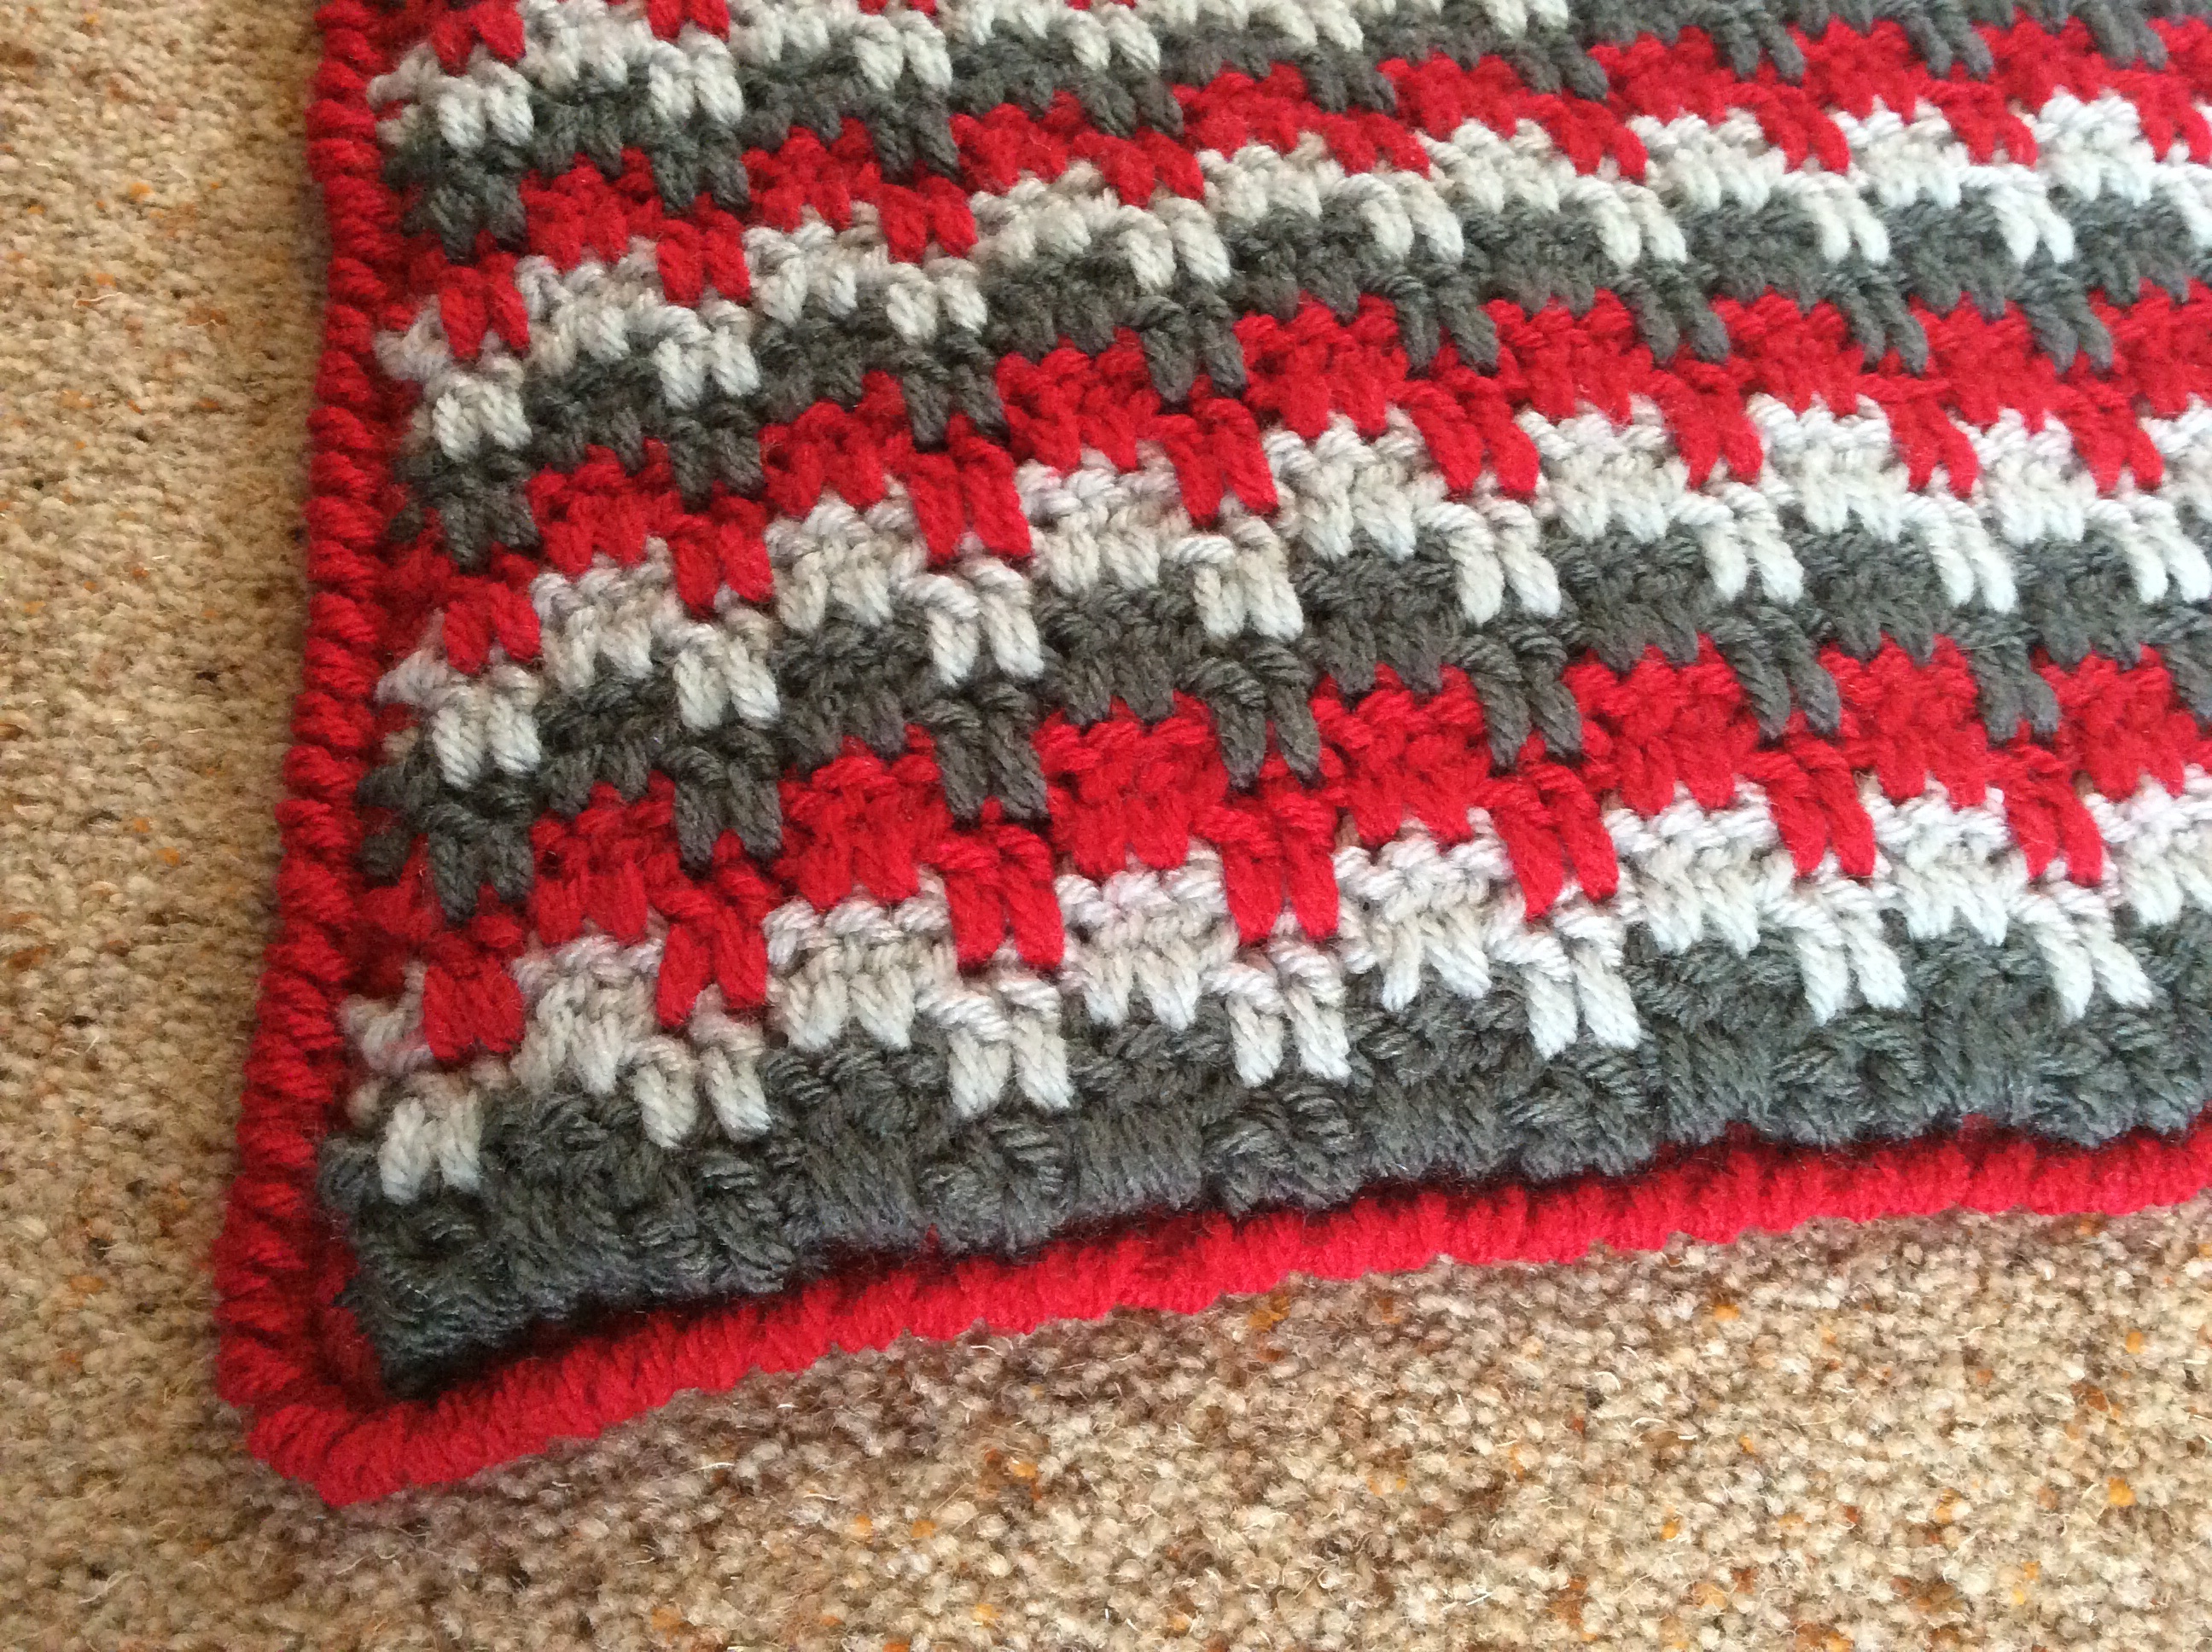
I could not bear to think of all that hard work lying unused in box somewhere and so, in January, the decision was made to join the squares. Nine ladies each undertook to join nine squares which were then crocheted together to form a bright and cheerful afghan.

nine times nine all joined

nine times nine all joined

Disparate square size was a bit of an issue but we overcame that by using a flexible zig-zag join and I imposed some rather agressive blocking and steaming!  The central border, created initially to enlarge that particular square,  is repeated around the outer edge.

Centre


Border

I am so pleased with the result and really hope that the exercise has given my group the extra confidence needed to take on future projects.

a bit of sunshine

a hint of spring sunshine

It is amazing just how many of my group at the start of the project were convinced that they would not be able to use charts but now they find them easier to follow than the written words and abbreviations.

Well done everybody … be proud of yourselves. I am proud of all the perseverance, effort and hard work you put into your work.

What next? Who knows … the sky’s the limit!

Happy crafting,

Jenny x


6

Second batch results and braids to go!

Hello again,

I just thought I would update you briefly on how the crochet study is going. My second set of samples came back very quickly – pleased to report that they all passed, in the upper band of 90% or over. I was relieved that the sample of double crochet ……  should have been the easiest of all ……. was fine this time as I seem to have sorted the problem with the edges and turning chains. Phew!

My mentor for the course appears to place more emphasis on hook size than Pauline did when she marked my first pieces. I shall, therefore, have to consider more carefully matching hook size to yarn in order to achieve a better drape. I can see that in the creation of fabrics to wear this is important and, probably, not having made many garments has made me less aware of the need to crochet a looser fabric. As you know, most of my previous projects have been afghans, cushion covers and other household items.

So, here are the next five samples which passed muster:

1.

trebles into spaces

trebles into spaces

2. Working a triangle from a single double crochet stitch proved a real challenge so it was great to read that it is a “lovely piece of work”.

triangle in double crochet worked from a point

triangle in double crochet worked from a point

3. This next sample worked from slip stitches up to quadruple trebles – four rows of each using the same hook and same number of stitches – illustrates well the issue of hook size since it seems so tight at the bottom but far too loose and uneven at the top, the widest point. Even here a point was deducted for using a 4.00 mm hook instead of a 4.50mm.

basic stitches getting taller every four rows

basic stitches getting taller every four rows

4. I loved doing the chevron and incorporating some colour; hook size was an issue yet again and the lack of visual balance because the sample did not finish with the same colour as at the beginning. I’m pretty sure, though, that in a proper project such as a blanket or cushion cover I would not do that.

chevrons worked without holes

chevrons worked without holes

5. Sorry this is not a very good image of the basket weave stitch I used to show a heavily textured fabric in trebles. I love the finished texture but wow ….     it uses a load of yarn.

example of heavily textured fabric in trebles

basket weave stitch working round front and back posts

My next samples will be examples of five different braids. Pauline herself writes “What is or is not a braid is a debatable point” so students are indeed expected to interpret in their own way. I have opted for what I consider to be the safe option – strips of fabric with identical side edges. Who knows what my tutor’s view is? Let’s hope for the best.

five braids

five braids

Well enough of my ramblings! News of my first garment project to follow soon. In the meantime have a good weekend lots of happy crochet and knitting.

Jenny x

0

Buttons, braids and Brighton Plaid

Happy Sunday everybody!

Required sample No 32 for the International Diploma in Crochet is “A varied selection of seven practical and usable crochet buttons”.

Sample No 33 is “A selection of five crochet braids”.

I have been scouring my crochet books and have come up with a couple of button designs  ……

first two - rather plain

first two – rather plain

…… so one of today’s tasks is to find a few more decorative designs and try them out. I have covered pebbles in crochet so the concept of an enclosed spherical item is not a problem but the fact that the button must not show through is a bit more testing and seven different examples seems quite a few.

Braids, however, could prove more problematic since the definition of a braid seems to vary. What exactly is a braid and how does it differ from an edging? Must both sides be symmetrical as in a belt or bag handle or can one side be straight for sewing onto a piece of fabric? Some books describe braids as plaited which is something else again???

I love the fact that this course is challenging me to concentrate on all these ideas and concepts; I know that in order to extend myself I must take the plunge and some risks – safe is not an option in spite of it being my preference.

Last but by no means least ……  my Brighton Plaid blanket is coming along. I just love the yarn and the fact that because it is hand-dyed different shades of colour appear in different lights.

centre squares

centre squares

circles in squares joined with granny stripes

circles in squares joined with granny stripes

I am so, so pleased that it is a join-as-you-go design ……. from tiny to middle-sized it grows as I go and whichever random choice of colour yarn I choose for adjoining squares, they all seem to go together so well. I’d happily swap weaving in yarn ends as I go for seaming everything together at the end of a project!

mini squares

mini squares

At present I’m on the popcorn granny round; I thought the popcorns might prove tricky but not at all and the textured effect is lovely.

popcorn corner

popcorn corner

colour and texture

colour and texture

Well, I’m off to research some buttons and braids this morning. Each to their own as the saying goes!

Back soon,

Jenny x


0

Coloured Catherine Wheels

Hello,

A new baby is always a reason to celebrate – to knit or crochet a favourite baby item. Phoebe Elizabeth is no exception and her arrival is very special.

Am I alone in getting itchy fingers to try out new stitch patterns after doing the well-known ones a few times? With a reasonable stash of merino and cash-merino baby yarns lurking in my stash I embarked on the never-attempted (by me!) Catherine Wheel stitch of Little Doolally’s Penny Baby blanket.

love this yarn hungry stitch and how the colours stand out

love this yarn hungry stitch and how the colours stand out


buggy blanket

buggy blanket

It took a little while to get the swatch to work and have reasonably straight sides and I have to admit to being a little fearful as to the outcome. Once mastered, though, the stitch works well and is very effective in showing off bands of colour.

penny blanket

penny blanket

The edging too was a bit hit and miss and since the pattern suggested that it could be too full I was not surprised to find the central panel pulling inwards. Ohh, the wonders of blocking ….. layers of towels, a hovering steam iron and patience over the weekend worked a treat and here is the finished article ready to be posted along with the little baby hat.

edging from Attic 24

edging from Attic 24

baby hat

baby hat

All in all a very pleasing project and, though I say it myself, not a bad finish either. I hope little Phoebe and her Mum will enjoy it!

Back soon with my next exciting project.

Happy knitting and crochet,

Jenny x


0

Spikes and Posts 2

Hello everybody,

Thank you so much for looking at my tribute to Wink. I hope her mandala designs are starting to fly off your hooks … there has been an amazing online response to the loss of such a talented designer.

Now back to posts for a moment ….. the spike samplers (in my Spikes and Posts 1 blog) have resulted in some wonderful coloured cushion covers ….

fantastic use of scraps

fantastic use of scraps

what a difference the wool makes to the appearance!

what a difference the wool makes to the appearance!

My colours

Corner

Sue's

This recent interest in textures has reminded me of the lovely basket weave stitch which uses the front and back post technique. So many crocheters are put off when they see the terms postwork, raised stitches, relief work or the abbreviations frtr and brtr in patterns – I know I used to be as well.

In fact, once you have seen these techniques used a few times and can identify the post of a stitch they are really easy to do  – you simply work these stitches by inserting the hook around the stem or post of the stitch below, from the front or back of the fabric.  Interesting textures and effects can be produced this way … working from the back gives an elastic, ribbed effect rather like knitted rib and combining front and back in blocks produces a basket weave texture.

all stitches worked as front post trebles - gives deep ridges and the wrong side looks the same

all stitches worked as front post trebles – gives deep ridges and the wrong side looks the same


all stitches are back post trebles - wrong side of fabric looks the same

here all stitches are back post trebles – the ridges are slightly less pronounced and again the wrong side of fabric looks the same

….. now look at the wrong side …..

this is the wrong side view and texture ..... yes it does produce horizontal ridges on the back when there are vertical ridges at the front!

this is the wrong side view and texture ….. yes it does produce horizontal ridges on the back when there are vertical ridges at the front!

When you start to combine the front and back trebles some amazing results can be achieved …

here each row is worked in alternate back and front post trebles. The effect is of a firm but elastic ribbed fabric. The wrong side looks identical.

here each row is worked in alternate back and front post trebles producing a firm but elastic ribbed fabric which is reversible

…… and now the previously mentioned basket weave stitch ..

basket weave stitch - this uses a combination of front and back post stitches - groups of three back post trebles are worked as front post trebles on the reverse of the fabric and the sequence is changed on every third row to create boxes

this uses a combination of front and back post stitches – groups of three or more back post trebles are worked as front post trebles on the reverse of the fabric and the sequence is changed on every third row to create boxes

I hope these swatches inspire you to have a go at some textured stitches and not be put off by the terminology. There are so many excellent U-tube videos now to help us.

My Monday group continue to impress with their varied projects and enthusiasm for more complicated patterns and stitches. I just love it!

sunflowers and granny square

sunflowers and granny square

sunflower edge

sunflower edge

granny pastels

granny pastels

Oh, how I wish there were a few more hours in each day for hook and yarn … there are so many wonderful stitches, patterns and designs just waiting out there for us! In the meantime enjoy this beautiful summer weather and the tennis and keep crafting!

That’s all for now,

Jenny x

0

Chunky and scrunchy

Hello again,

Who could have imagined that I would ever be writing a blog post about chunky yarn and, wait for it ……. bearing in mind that I am a self-professed yarn snob ……… 100% acrylic to boot!!

I blame it all on Lucy of Attic 24 – do check out her totally amazing blog if you haven’t already. Love, love love it!

This adventure began with my rather large order of chunky yarn to make a draught excluder for my son-in-law before Christmas. I seriously overestimated how many balls I would need and ended up with what really looked like more than I started with!

My most inspiring blogger, Lucy at Attic 24 came to my aid with her infectious enthusiasm for Stylecraft Special Chunky. Her jolly yarn bag pattern immediately attracted me and, true to form, it worked brilliantly.

showing it off in my own yarny space

showing it off in my own yarny space


scrunchy, chunky flowers

scrunchy, chunky flowers


I still had plenty left so, using Ravelry.com to give me ideas about which patterns work well in chunky yarn, I began experimenting with swatches in different stitch patterns. Tamara Kelly of Mooglyblog uses some super interesting stitches and I am indebted to her for the leaping blocks and stripes design in my cushion cover. Combining texture with stripes is just such fun:-

love the effect of these spike stitches

love the effect of these spike stitches


coloured waves

coloured waves


retro spikes from mooglyblog

retro spikes


So, the cushion cover using the spike stitches began to take shape and because crochet in chunky yarn grows so amazingly fast it just seemed to appear!

spikey stripes at front

spikey stripes at front


half trebles at back

half trebles at back


texture of stitch

texture of stitch

These are not really my colours although it looks fine on the computer chair …….

Office chair


………. I wonder who will be the eventual recipient of this armful of chunky squashiness? I’ll certainly be trying one in another stitch pattern in my colours to keep at home.

Back again soon,

Jenny x